Why Most Embedded Code Is Tightly Coupled — And How Dependency Injection Fixes It
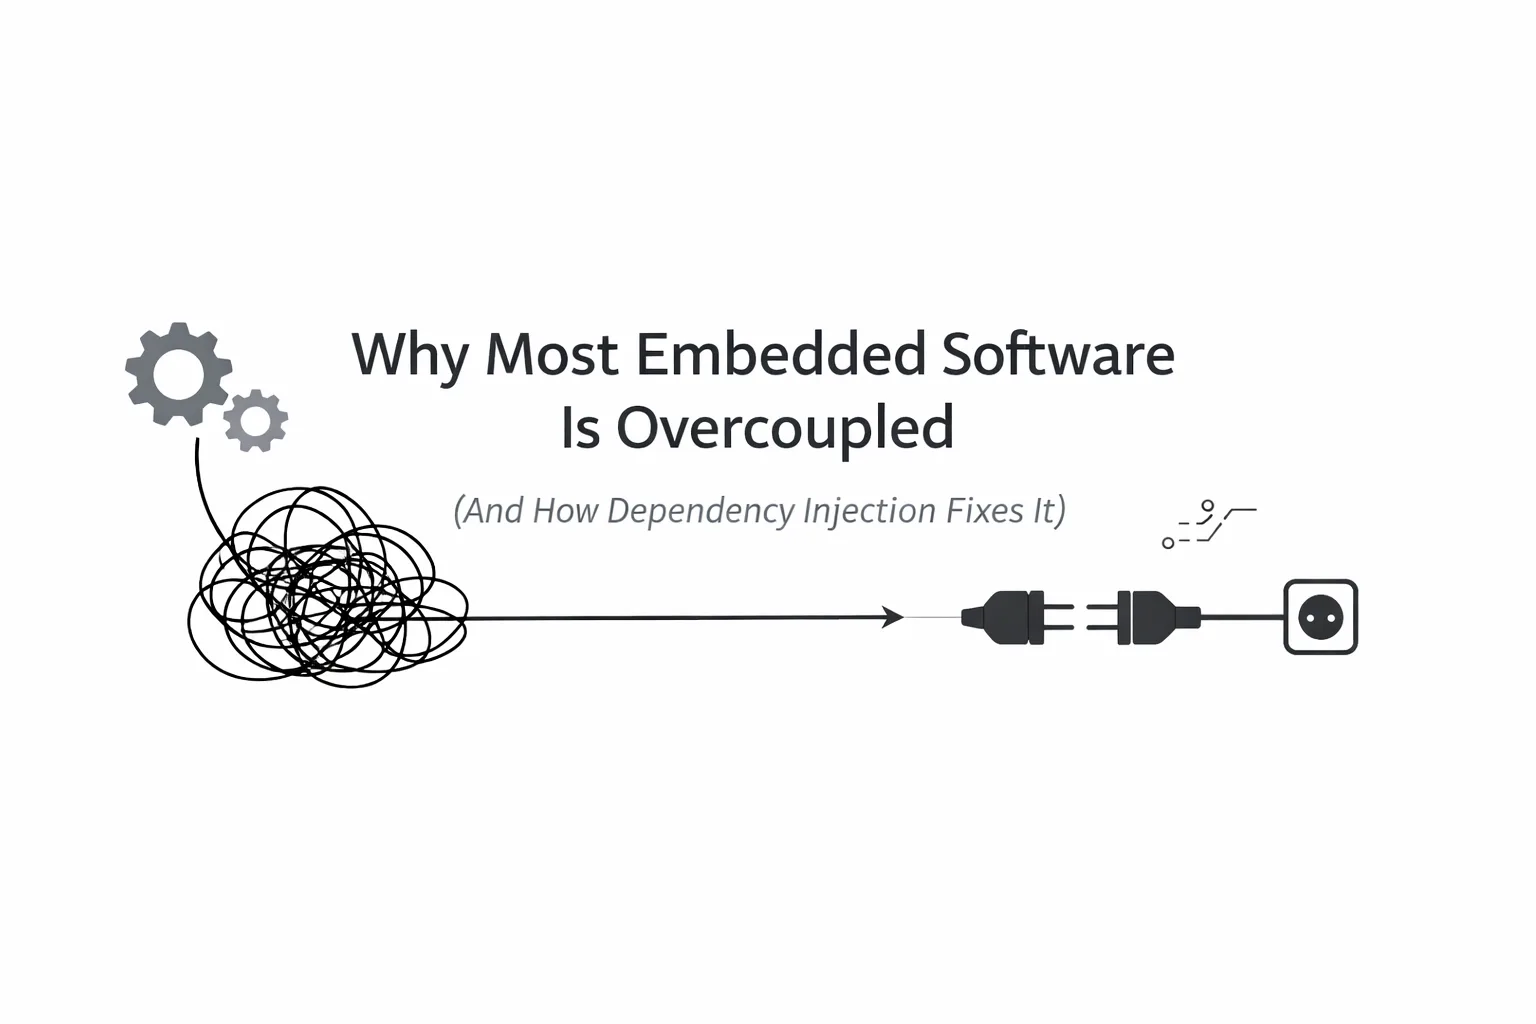
Why direct register writes and HAL calls inside your application logic make firmware impossible to unit test on PC. Here is how to use Dependency Inversion and Injection in C and C++ using real I2C sensor hardware.
- The Board Revision Nightmare
- The Anti-Pattern: Hardware Leaking into Logic
- The Fix Part 1: Dependency Inversion (DIP)
- The Fix Part 2: Dependency Injection (DI)
- Interactive Hands-On: Unit Testing on PC (Zero Hardware Needed)
- The Performance Myth: How Bad Is the Overhead?
- When NOT to Use Dependency Injection
- Incremental Adoption: How to Start on Legacy Code
The Board Revision Nightmare
Picture this scenario: You’re building a thermal management controller for an industrial gateway. You pick an STM32, hook up an I2C temperature sensor to I2C1 (GPIOB6/7), write the driver using your vendor’s HAL, and verify it on the bench. It works great.
Six months later:
- The component shortage hits: Your MCU is lead-timed out for 40 weeks, so management swaps to an ESP32 or RP2040.
- The PCB layout changes: The hardware engineer moves the sensor from
I2C1toI2C2on a different pin bank. - The testing request arrives: The QA team asks for automated unit tests that verify fan triggers at 85°C — without someone manually heating the board with a heat gun.
If your temperature checking logic calls HAL_I2C_Master_Transmit(&hi2c1, ...) directly, you’re stuck:
- You have to rewrite application logic for every new board or MCU.
- You can’t test safety-critical alarms without physical hardware.
- You can’t simulate I2C bus errors (NACKs, timeouts) on your PC.
This is tight coupling. The problem isn’t the hardware — it’s that business logic knows too much about register addresses and vendor HAL handles.
The Anti-Pattern: Hardware Leaking into Logic
Here is how embedded code typically gets written under pressure:
// thermal_control.c — BAD: Application logic hardcoded to STM32 HAL & I2C1
#include "stm32f4xx_hal.h"
#include "main.h"
extern I2C_HandleTypeDef hi2c1;
#define TMP102_I2C_ADDR (0x48 << 1)
void check_system_temperature(void) {
uint8_t reg = 0x00; // Temperature register
uint8_t data[2] = {0};
// Application logic is calling low-level STM32 HAL directly!
if (HAL_I2C_Master_Transmit(&hi2c1, TMP102_I2C_ADDR, ®, 1, 100) == HAL_OK) {
if (HAL_I2C_Master_Receive(&hi2c1, TMP102_I2C_ADDR, data, 2, 100) == HAL_OK) {
int16_t raw = (data[0] << 4) | (data[1] >> 4);
float temp_c = raw * 0.0625f;
if (temp_c > 80.0f) {
// Direct GPIO call to trigger cooling fan
HAL_GPIO_WritePin(FAN_GPIO_Port, FAN_Pin, GPIO_PIN_SET);
}
}
}
}
Why this breaks down:
- Zero Portability: Porting to an ESP32 or RP2040 requires touching
thermal_control.cbecause STM32 HAL headers are baked into it. - Zero Host Testability: You cannot compile this on your Linux/macOS/Windows PC because
stm32f4xx_hal.hdoesn’t exist on x86. - Zero Fault Injection: How do you test what happens when the sensor fails to respond? You have to physically desolder the chip or short the bus lines.
The Fix Part 1: Dependency Inversion (DIP)
The Dependency Inversion Principle states:
High-level business logic (e.g. turning on a fan above 80°C) should not depend on low-level details (e.g. STM32 I2C1 registers). Both should depend on an abstraction.
Let’s separate what the application needs from how the hardware delivers it.
In C: Interface via struct of function pointers
// temp_sensor.h — The Abstraction (No HAL headers here!)
#pragma once
#include <stdbool.h>

typedef struct {
    bool (*read_temp_c)(float *temp_out, void *user_data);
    void *user_data; // Context (e.g. bus handle, I2C address)
} temp_sensor_t;
In C++: Abstract Interface Class
// ITemperatureSensor.hpp — C++ Abstraction
#pragma once

class ITemperatureSensor {
public:
    virtual ~ITemperatureSensor() = default;
    virtual bool read_temp_c(float& temp_out) = 0;
};
Notice what is missing: No #include "stm32f4xx_hal.h", no pin numbers, no register offsets. temp_sensor_t is pure C contract.
The Fix Part 2: Dependency Injection (DI)
Dependency Inversion gave us the contract. Dependency Injection is simply passing that contract into your application module from the outside, rather than letting the module fetch its own globals.
Application Logic (C)
// thermal_monitor.c — Pure application logic
#include "temp_sensor.h"
#include "fan_control.h"
typedef struct {
temp_sensor_t sensor;
fan_control_t fan;
float warning_threshold_c;
} thermal_monitor_t;
void thermal_monitor_init(thermal_monitor_t *mon, temp_sensor_t sensor, fan_control_t fan, float threshold) {
mon->sensor = sensor;
mon->fan = fan;
mon->warning_threshold_c = threshold;
}
void thermal_monitor_process(thermal_monitor_t *mon) {
float current_temp = 0.0f;
if (mon->sensor.read_temp_c(¤t_temp, mon->sensor.user_data)) {
if (current_temp >= mon->warning_threshold_c) {
mon->fan.set_speed(100); // Max cooling
} else {
mon->fan.set_speed(0);
}
}
}
Now thermal_monitor_process() doesn’t know or care if the temperature comes from an I2C chip, an analog NTC thermistor, or a fake test driver.
Interactive Hands-On: Unit Testing on PC (Zero Hardware Needed)
Because our application logic depends only on temp_sensor_t, we can write a fake driver that runs on Linux, macOS, or Windows in a standard GCC/Clang test binary.
// test_thermal_monitor.c — Runs on your development PC!
#include <stdio.h>
#include <assert.h>
#include "temp_sensor.h"
#include "thermal_monitor.h"

// Fake sensor state for testing
static float simulated_temp = 25.0f;
static int simulated_fan_speed = 0;

static bool fake_read_temp(float *temp_out, void *user_data) {
    (void)user_data;
    *temp_out = simulated_temp;
    return true; // Simulate successful read
}

static void fake_set_fan_speed(int speed) {
    simulated_fan_speed = speed;
}

int main(void) {
    printf("Running Host Unit Test: Thermal Monitor...\n");

    temp_sensor_t fake_sensor = { .read_temp_c = fake_read_temp, .user_data = NULL };
    fan_control_t fake_fan = { .set_speed = fake_set_fan_speed };

    thermal_monitor_t monitor;
    thermal_monitor_init(&monitor, fake_sensor, fake_fan, 80.0f);

    // Test 1: Normal temperature (25°C) -> Fan should stay OFF
    simulated_temp = 25.0f;
    thermal_monitor_process(&monitor);
    assert(simulated_fan_speed == 0);
    printf("✓ Normal temperature test passed\n");

    // Test 2: Over-temperature condition (85°C) -> Fan should turn ON (100%)
    simulated_temp = 85.0f;
    thermal_monitor_process(&monitor);
    assert(simulated_fan_speed == 100);
    printf("✓ Over-temperature alarm test passed\n");

    printf("\nAll host unit tests passed in 0.002 seconds!\n");
    return 0;
}
What you just unlocked:
- You ran an embedded safety check on your PC in 2 milliseconds.
- You can plug this test into GitHub Actions or Woodpecker CI.
- You don’t need a single MCU, debugger, or heat gun on your desk to verify your alarm logic.
The Performance Myth: How Bad Is the Overhead?
The first reaction from firmware developers is usually:
“Function pointers add overhead! Virtual functions waste clock cycles!”
Let’s look at the numbers on actual microcontrollers.
1. Function Pointer / Vtable Call Cost
On an ARM Cortex-M4 running at 168 MHz:
- An indirect call via function pointer takes 1 to 3 clock cycles (~6 to 18 nanoseconds).
- If your sensor loop runs at 10 Hz or 100 Hz, that indirect branch consumes less than 0.00001% of your CPU budget.
2. What if you need Zero Overhead (e.g. 10 MHz Bit-Bang or Fast ISR)?
For paths where every single cycle counts, you don’t have to sacrifice clean code. You can use Compile-Time / Static Dependency Injection:
Option A: C++ Templates (Static Polymorphism / CRTP)
template <typename TempSensor, typename FanController>
class ThermalMonitor {
    TempSensor& sensor_;
    FanController& fan_;
public:
    ThermalMonitor(TempSensor& s, FanController& f) : sensor_(s), fan_(f) {}

    void process() {
        if (sensor_.read_temp_c() > 80.0f) {
            fan_.set_speed(100);
        }
    }
};
Result: The compiler inlines sensor_.read_temp_c() directly into the assembly call. 0 cycles overhead, 0 vtables, full testability.
Option B: C Link-Time Binding
In C, keep the header interface clean and provide two different .c files during compilation:
bsp_stm32_sensor.c(compiled into the target firmware)fake_host_sensor.c(compiled into your PC test binary)
When NOT to Use Dependency Injection
Design patterns are tools, not commandments. Avoid DI abstractions when:
- Ultra-Constrained MCUs: Sub-4KB Flash targets (ATtiny, PIC16) where saving 40 bytes of function pointer pointers is critical.
- High-Frequency ISRs: Interrupt routines firing at 500 kHz where an extra indirect branch breaks timing constraints.
- One-Off Validation Scripts: A quick 20-line test script written to verify a hardware pin on an oscilloscope before throwing it away.
Incremental Adoption: How to Start on Legacy Code
You don’t need to rewrite your entire 100,000-line codebase overnight. Pick one module boundary and follow these steps:
- Find a Seam: Choose a single peripheral or sensor (e.g., an EEPROM or temperature sensor).
- Create a Clean Header: Move direct HAL calls out of your application files and behind a simple C
structinterface or C++ class. - Write a Host Fake: Create a 20-line fake implementation in C/C++ and write a PC host test for that module.
- Wire it in
main(): Pass the real hardware handle inmain.con the MCU, and pass the fake handle in your PC test runner.
Doing this for just one driver gives you immediate unit testing capability on your development laptop and shields your core logic from future hardware board revisions.